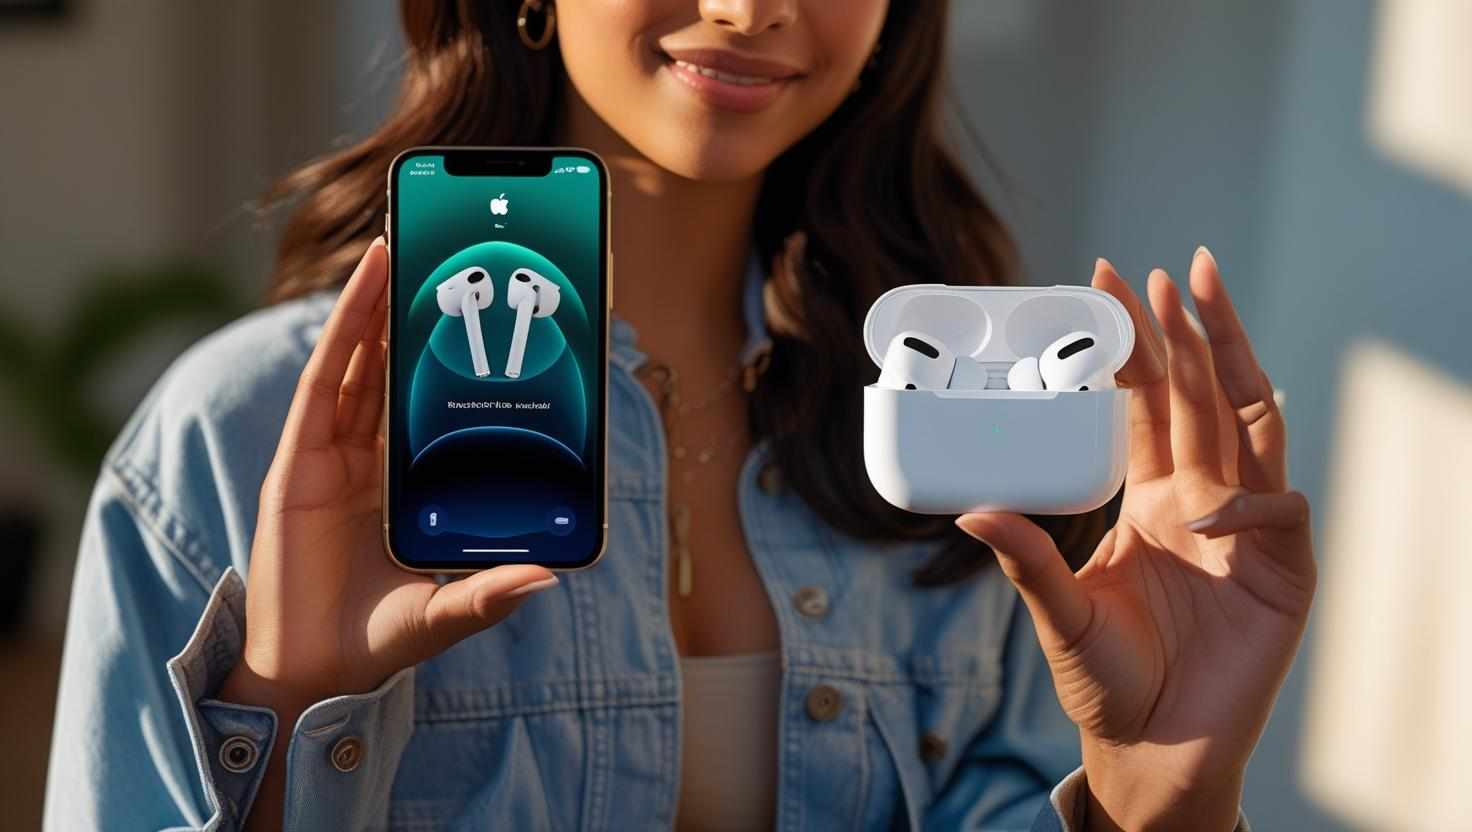
Connecting your AirPods to a laptop is quick and easy, whether you’re using a Windows PC or a Mac. With Bluetooth technology, you can enjoy wireless audio without the hassle of cables. Here’s a simple guide to help you connect your AirPods to your laptop in just a few steps.
Connecting AirPods to a Mac Laptop
Turn on Bluetooth
Make sure Bluetooth is enabled on your Mac. Go to the Apple menu > System Preferences > Bluetooth, then toggle Bluetooth on.Open the AirPods Case
With your AirPods inside, open the charging case near your Mac.Pair Your AirPods
On your Mac, the AirPods should appear in the list of Bluetooth devices. Click Connect next to your AirPods name.Confirm Connection
Once connected, your AirPods will appear as the audio output device. You can start listening right away.
Connecting AirPods to a Windows Laptop
Turn on Bluetooth
Go to Settings > Devices > Bluetooth & other devices and turn Bluetooth on.Put AirPods in Pairing Mode
Open the AirPods case, press and hold the button on the back until the LED flashes white.Add Bluetooth Device
On your Windows laptop, click Add Bluetooth or other device and select Bluetooth.Select Your AirPods
From the list of available devices, choose your AirPods. Click Connect to pair.Set AirPods as Audio Device
Once connected, ensure your AirPods are set as the default playback device in the sound settings.
Tips for a Smooth Connection
Keep your AirPods charged for uninterrupted pairing.
If connection fails, try turning Bluetooth off and on again or restarting your laptop.
Update your laptop’s Bluetooth drivers for better compatibility.
Disconnect AirPods from other devices before pairing with your laptop.
Connecting AirPods to your laptop enhances your listening experience by providing wireless freedom and high-quality sound. With these easy steps, you’ll be ready to enjoy your favorite music, videos, and calls in no time.


Write a comment ...